


Want to impress everyone with amazing Sova Lineups? Check out these useful Sova Lineups so you can bring out Sova’s maximum potential on the Lotus map.
Lotus is the latest addition to the Valorant Map pool, with its unique features being three spike sites, breakable connectors, and rotating doors. With wide open spaces and map verticality, Sova is an excellent agent for taking advantage of the map’s geometry.
Unlike most other Agents, Sova’s utilities are somewhat trickier to master. However, his abilities also open up so many opportunities to make crucial game-changing plays, which makes learning basic Sova lineups really important. This guide will cover all the basic lineups you need to know to start playing Sova in Lotus.

Read More: Best Sova Lineups for Every VALORANT Map: The One-stop Guide to Playing Sova Effectively
Sova Lotus playstyle
The most important part of Lotus is the main sites A and B, since they have wide open spaces and are also used for rotations and flanks. On the defending side, the Recon arrow or drone in the lobby areas can scope out enemies pushing or lurking. These abilities can also be used late in the round to determine enemy rotations.
On the attacking side, Sova can clear the way for site entries with his Owl Drone while allies follow behind. Sova can also scope out sites with his recon arrow. He can also stop spike defuses with cheeky post-plant Shock Dart lineups, along with his ultimate.
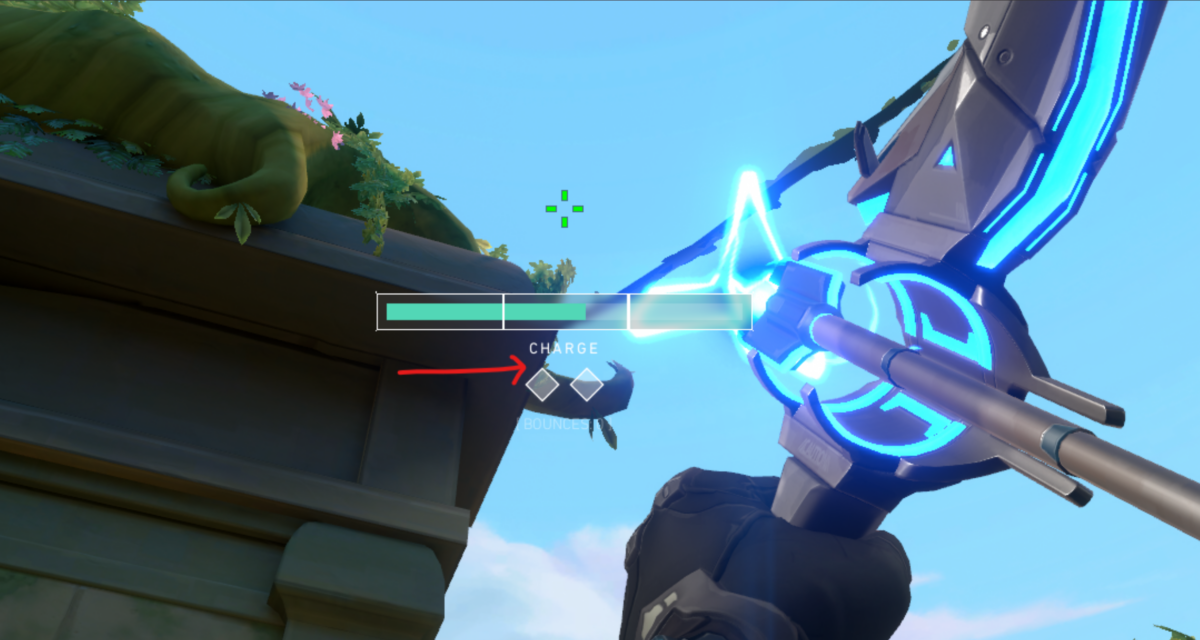
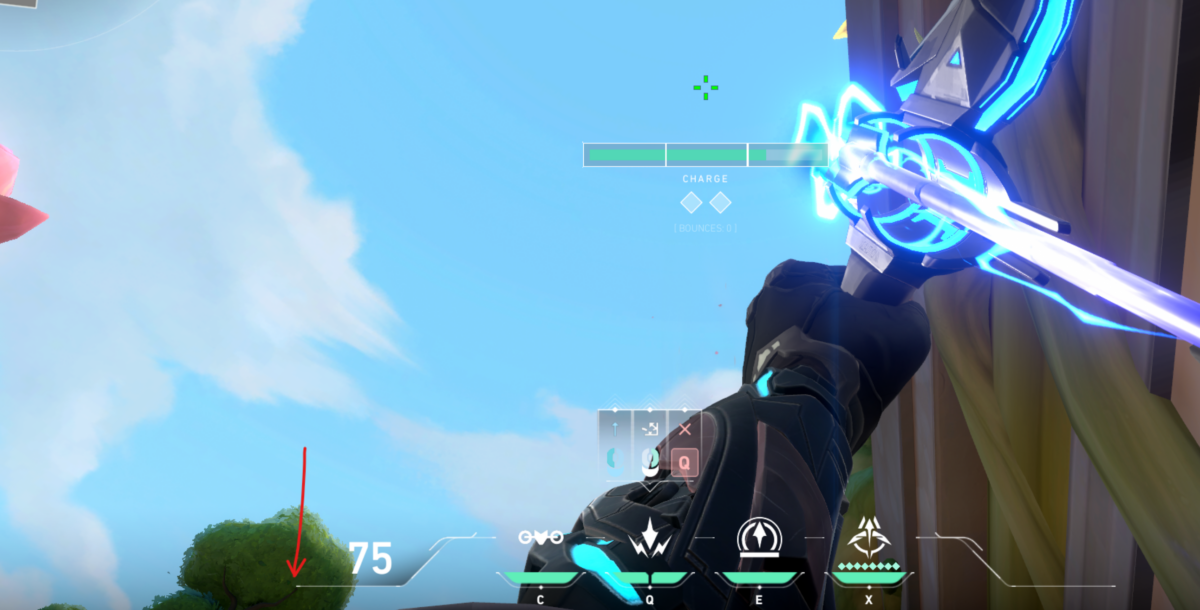
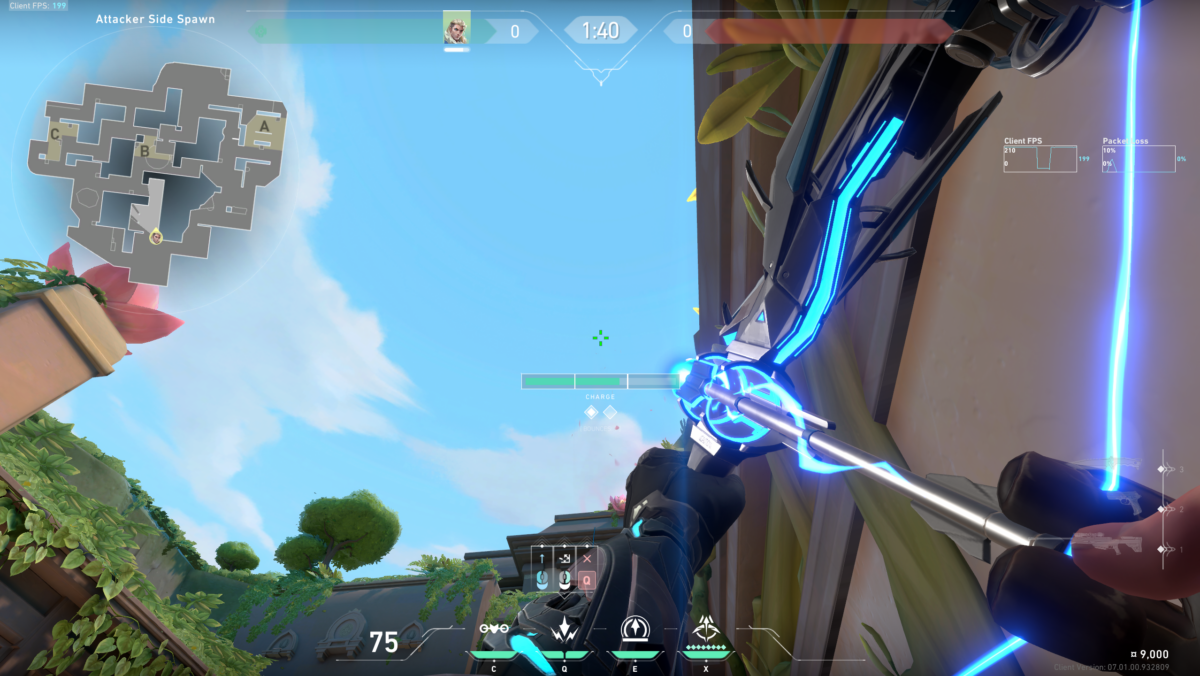
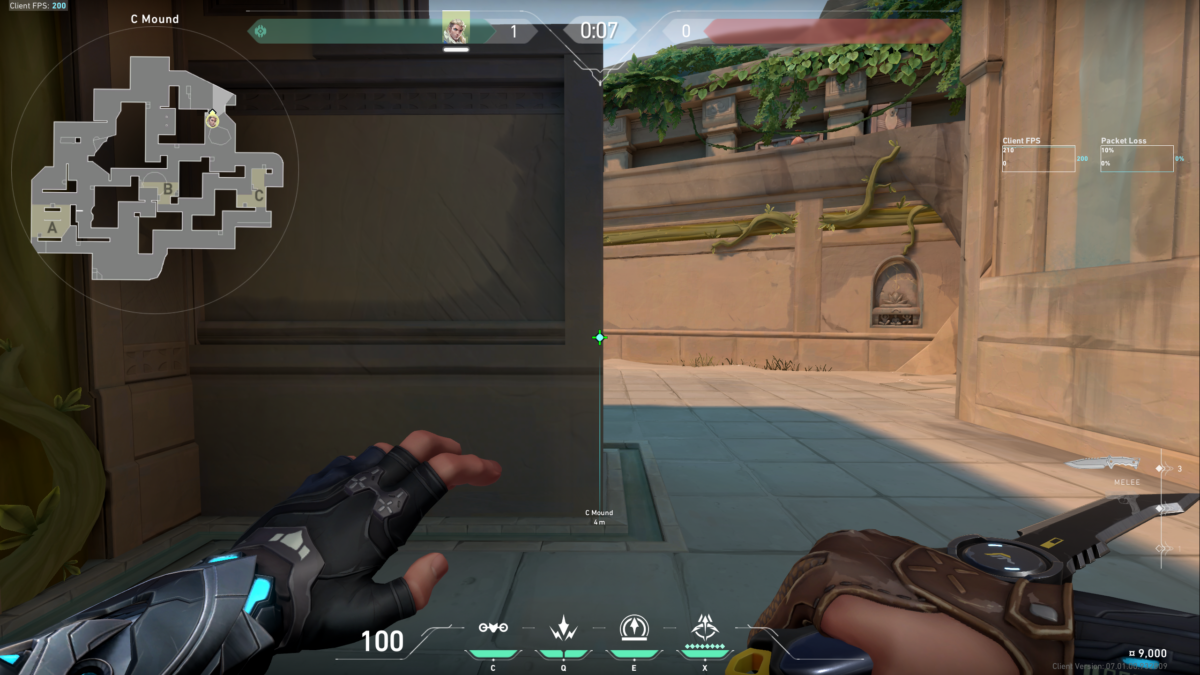
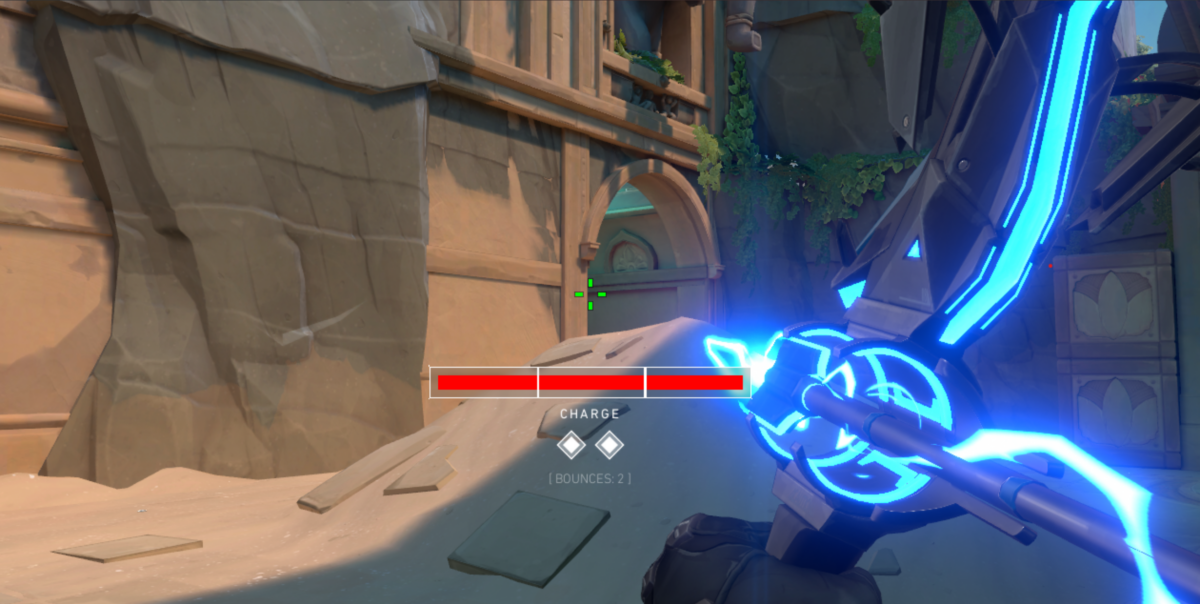
Lotus Recon Arrow Lineups
So let’s get started on the Recon Arrow lineups for Lotus for both attack and defense.
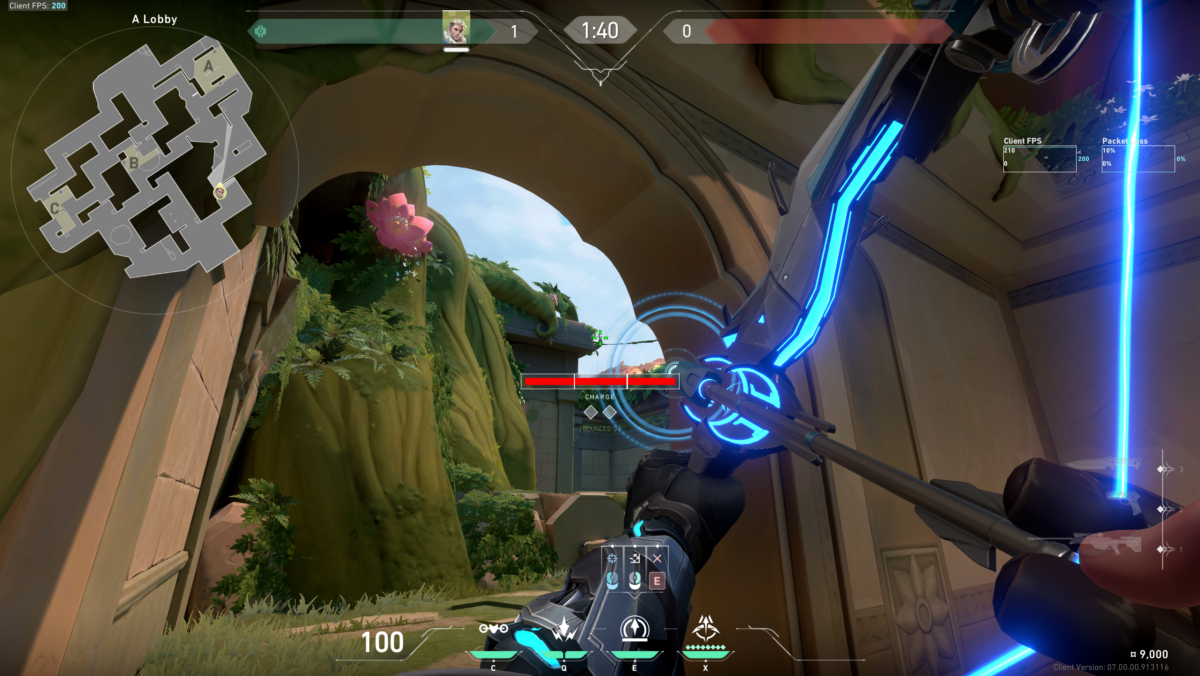
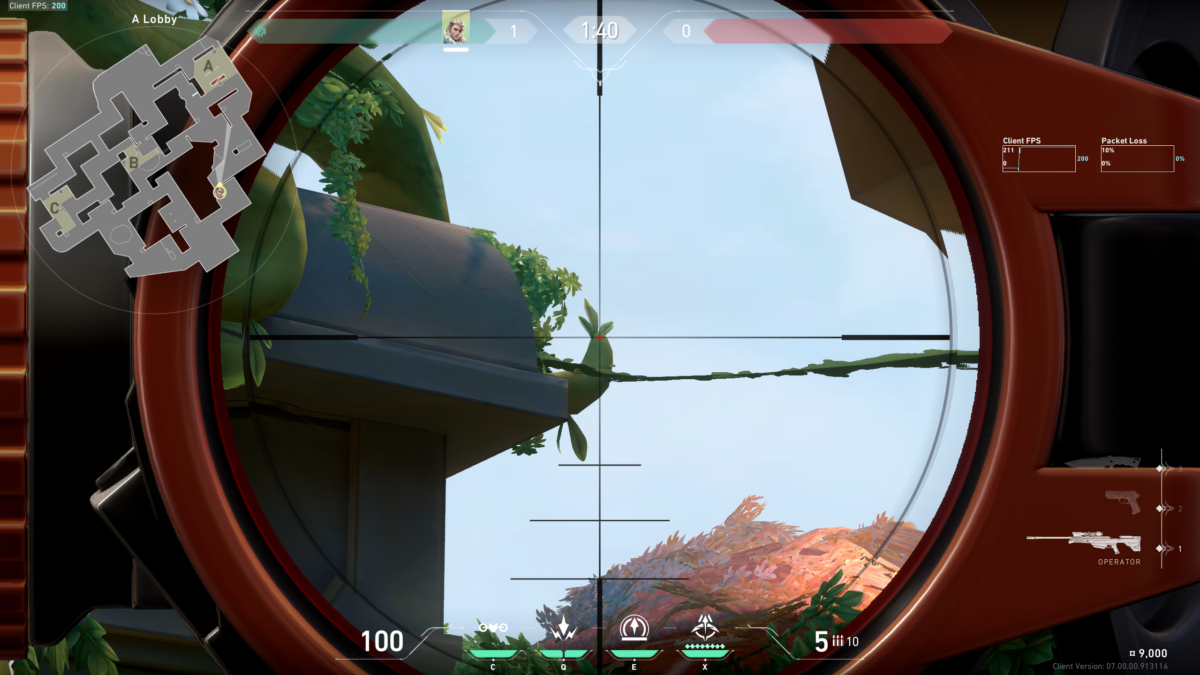
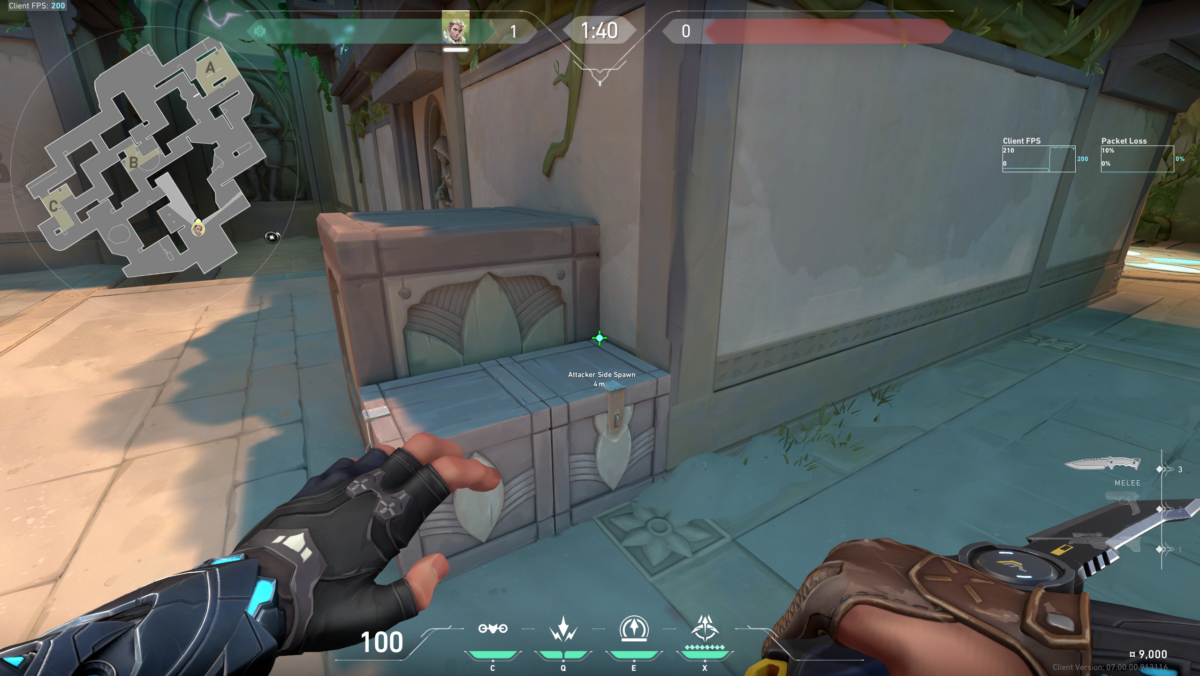
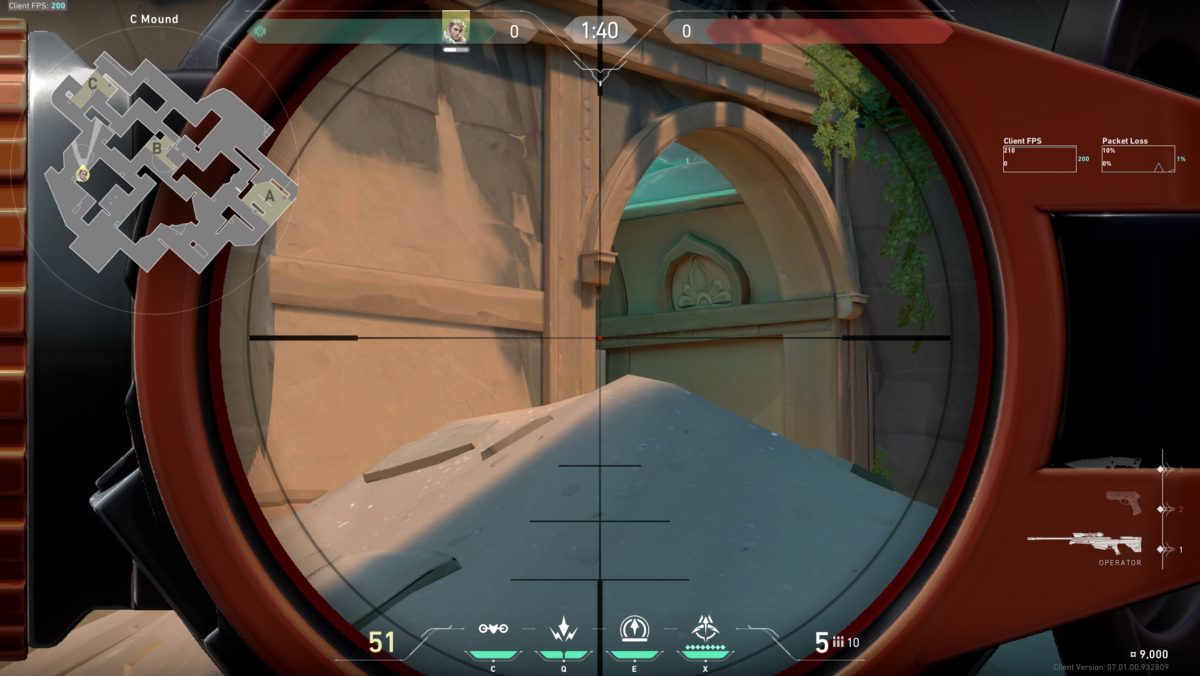
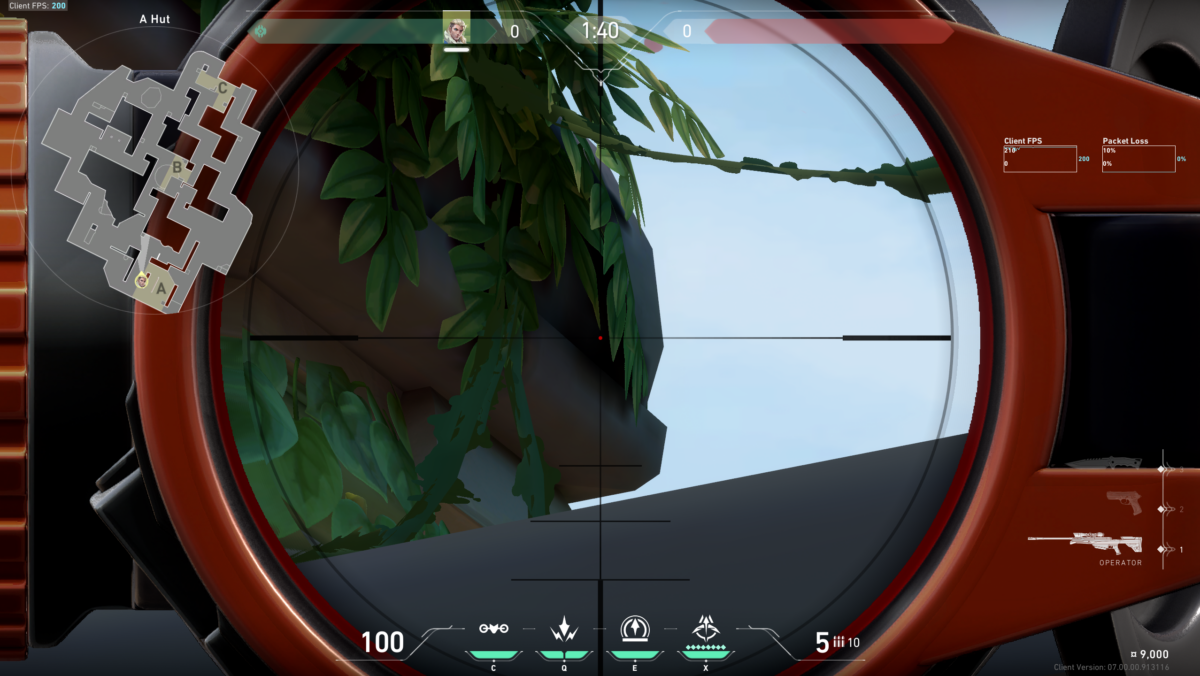
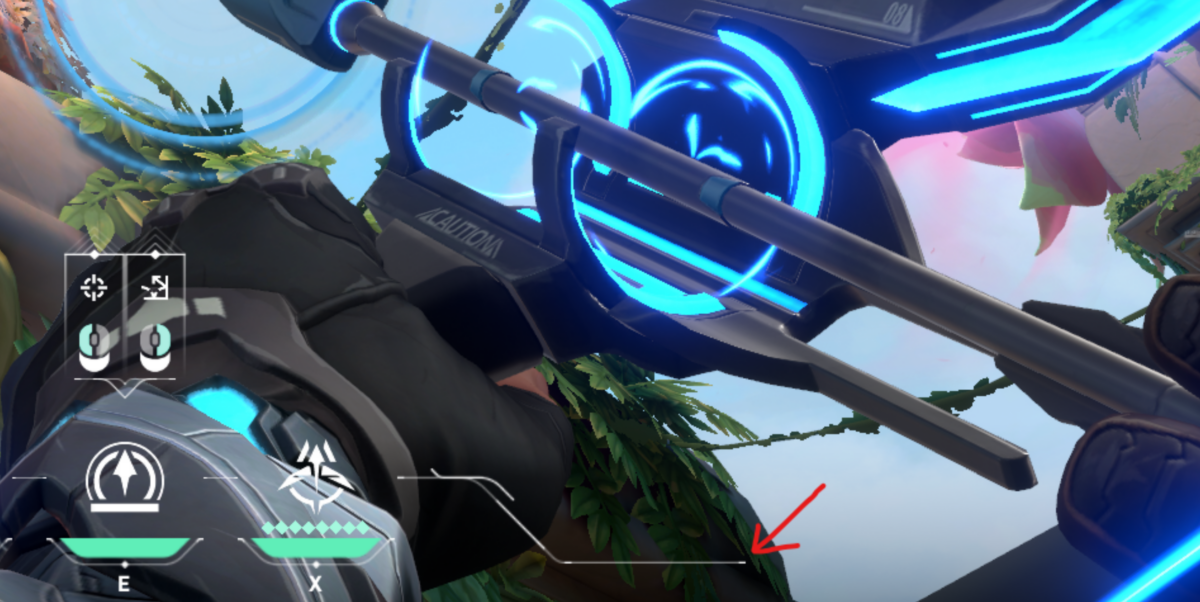
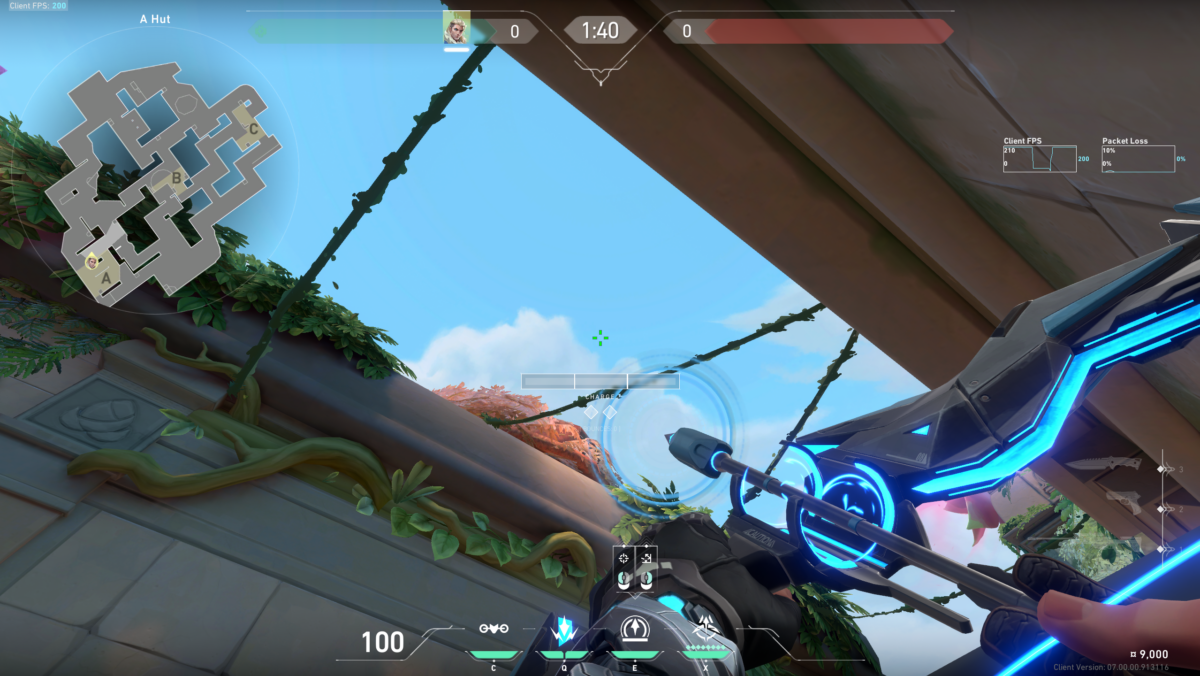
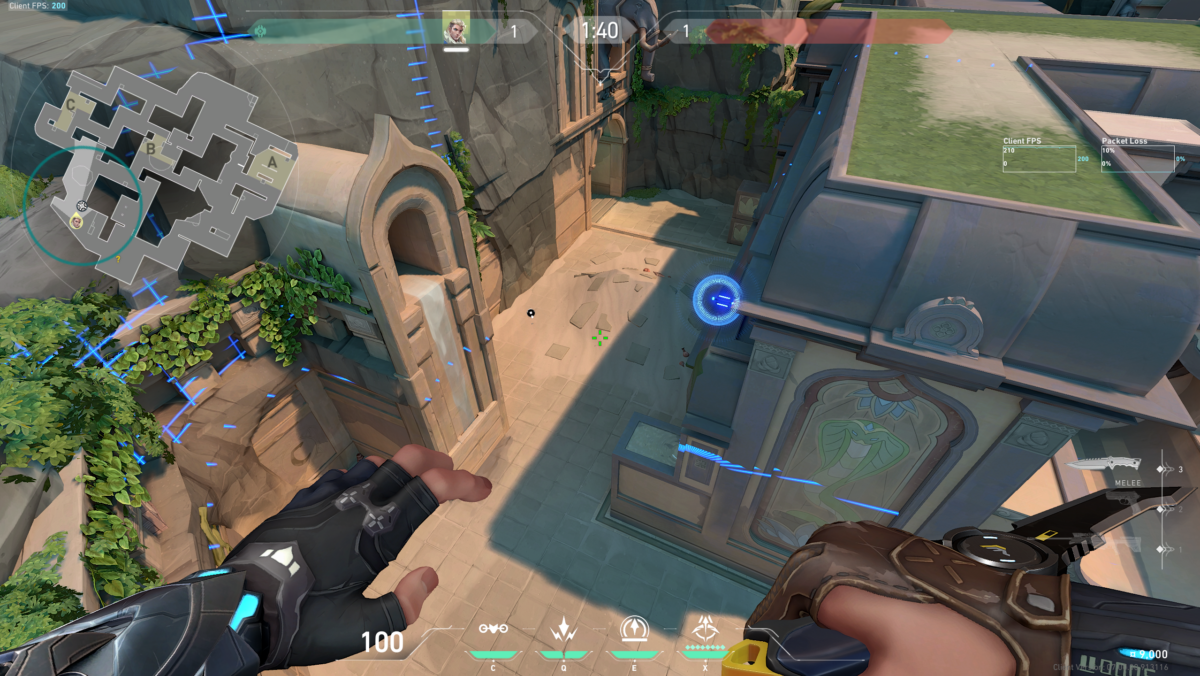
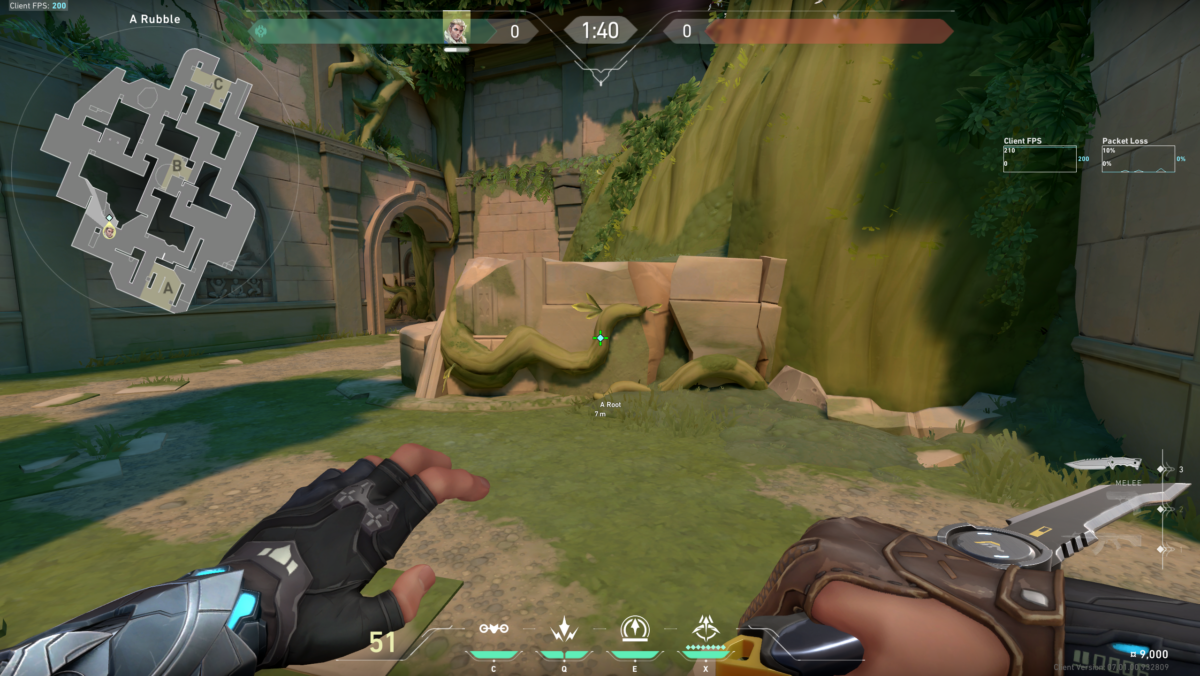
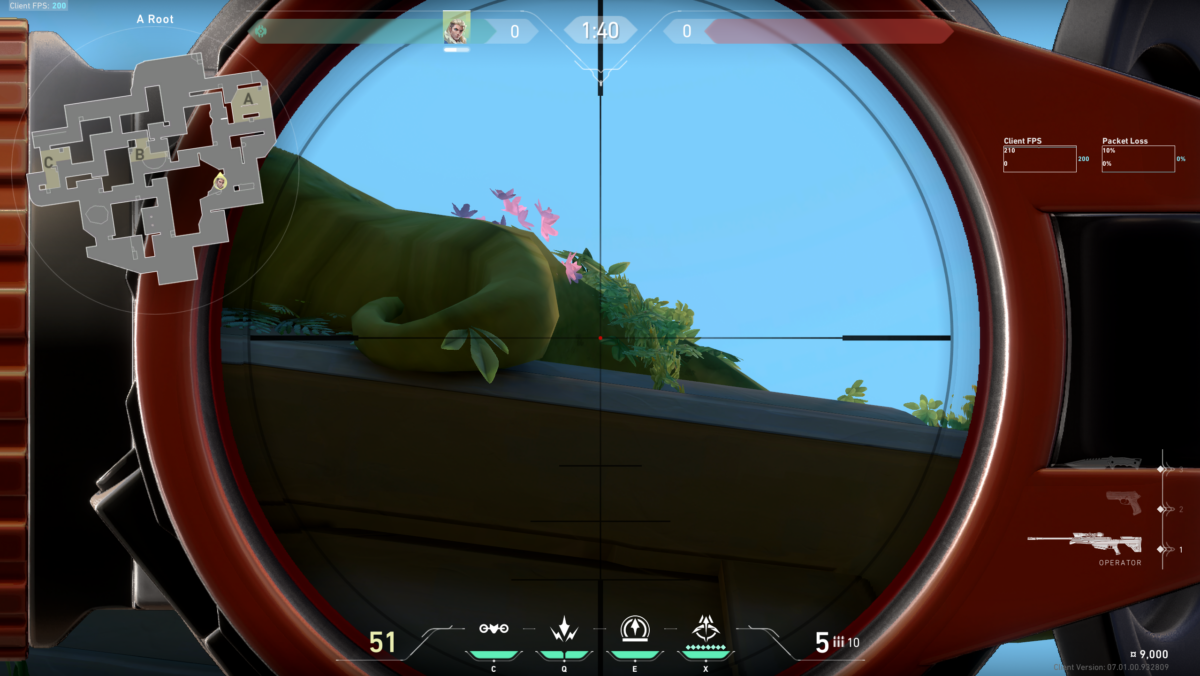
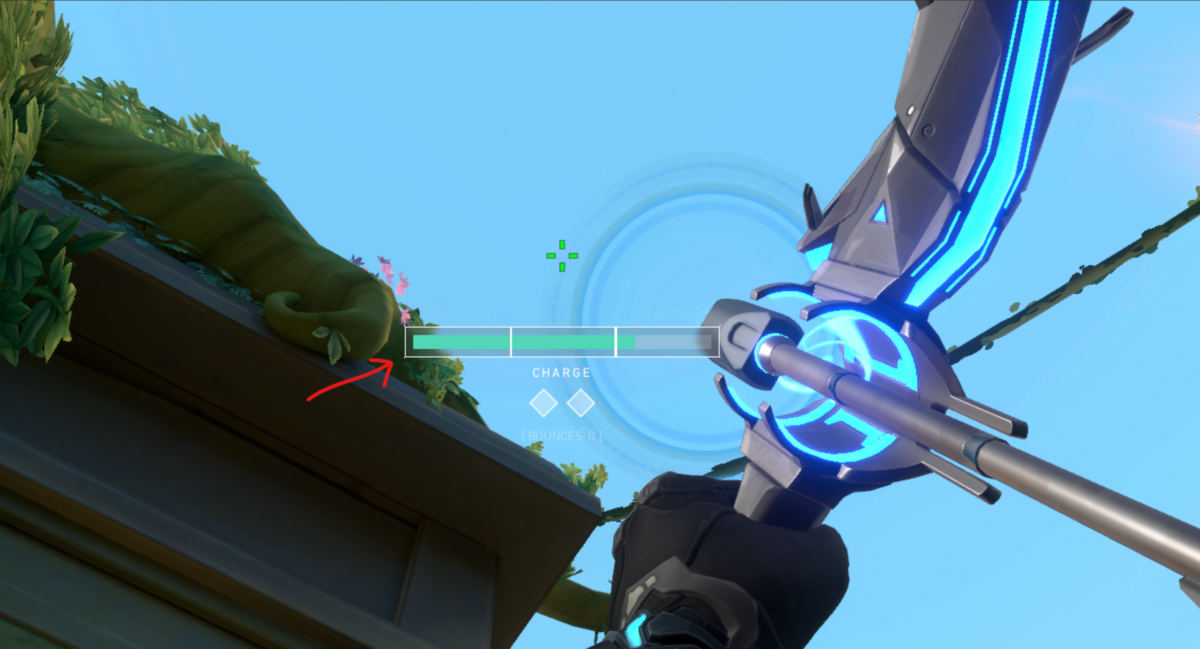
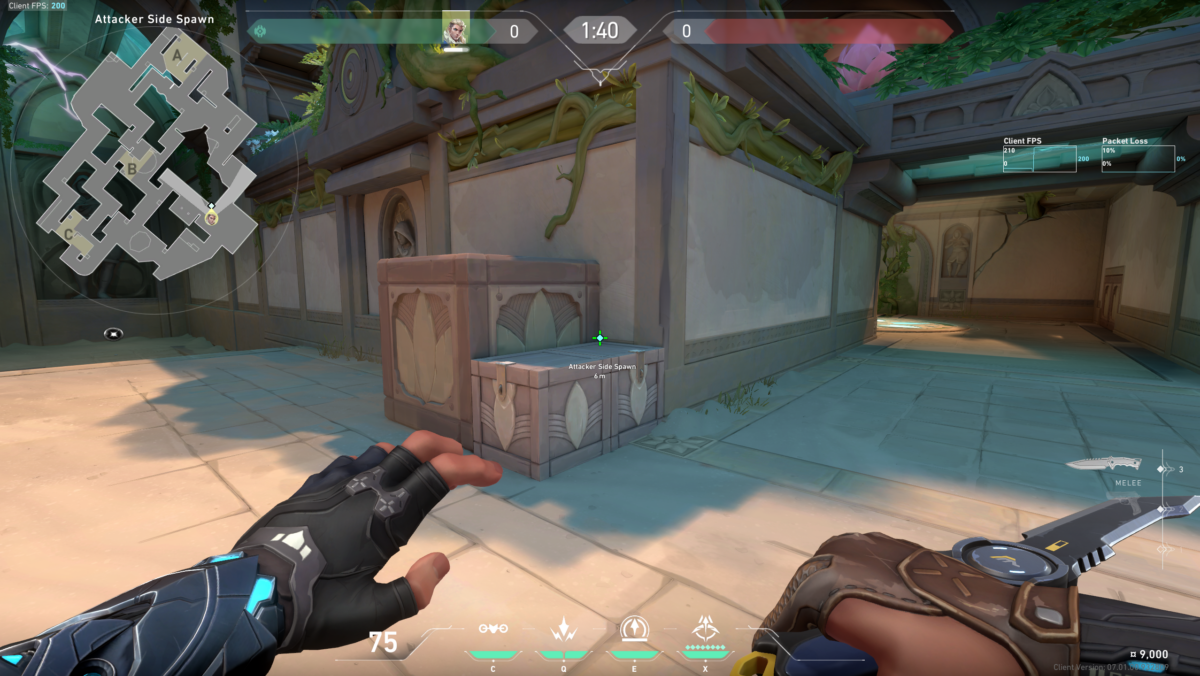
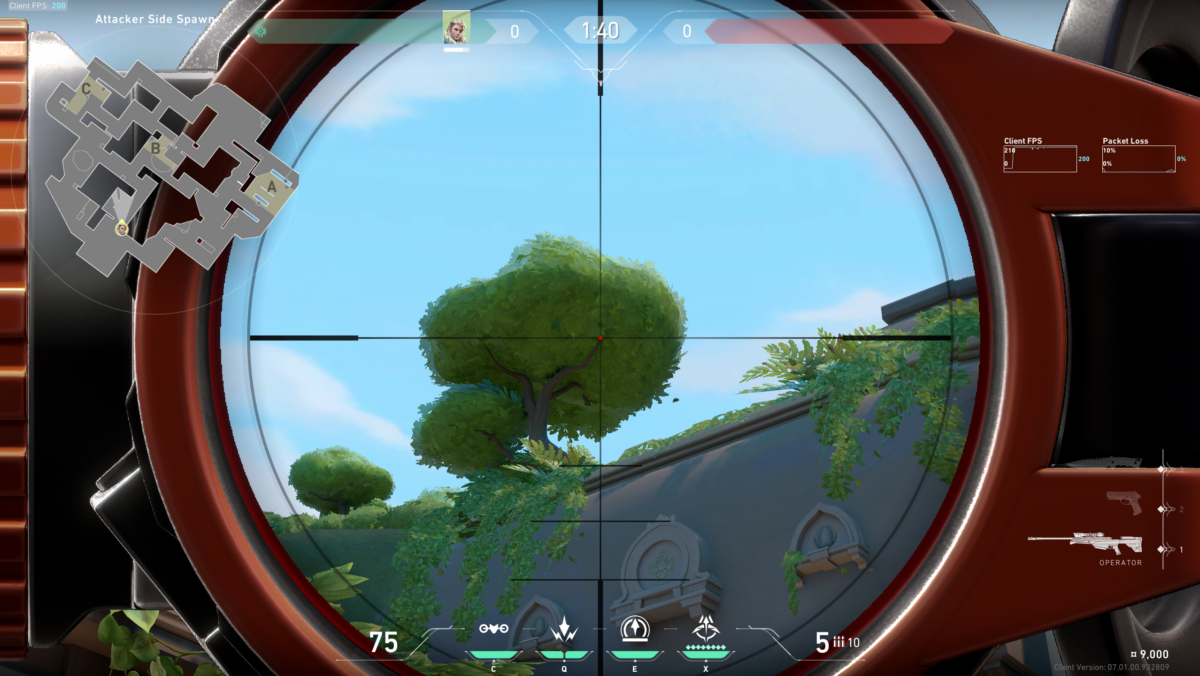
Attack: A Rubble God Recon Arrow
Starting things off for Lotus is this God arrow for A. It will land high on awkward map geometry, scoping out all of A Rubble and aggressive peeks. You can use this lineup and immediately push A with your drone leading the way for an efficient A execution.


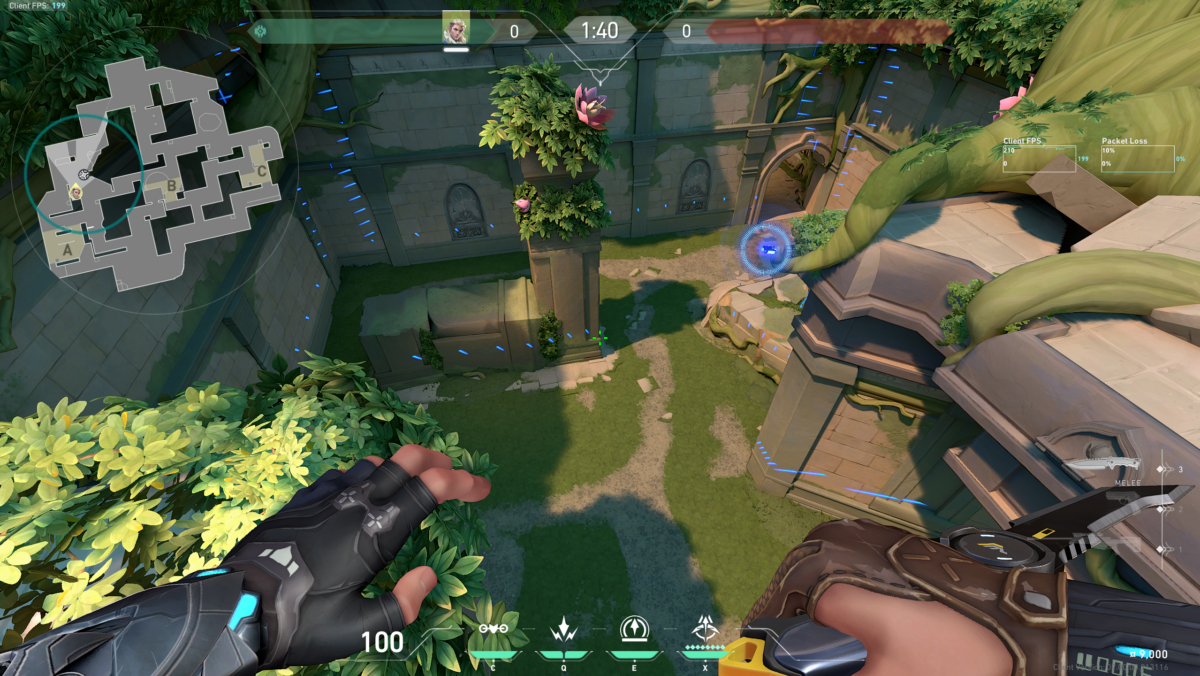
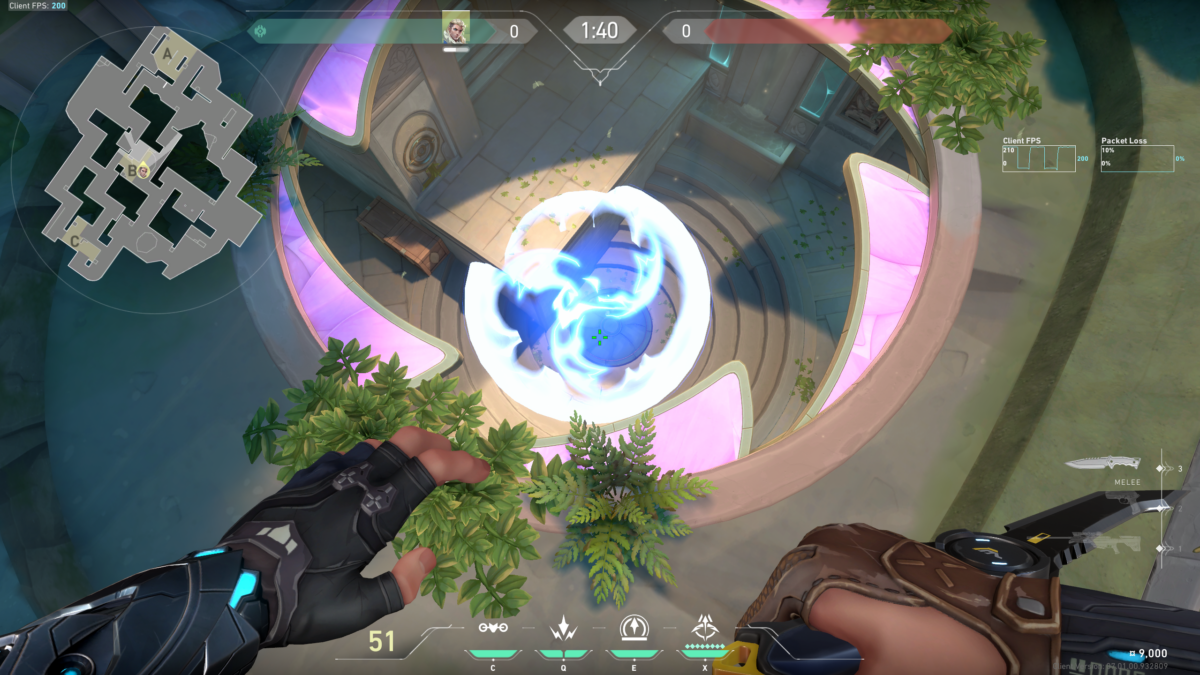
Attack: B Site Recon Arrow
This is a recon arrow for scoping out the B Site. Thanks to the opening in the skylight of B site, you can use this lineup that lands in B site through the opening and perches itself on the ceiling, revealing the entirety of B site. It comes in from an awkward angle, so it will be more difficult to destroy for defenders. Ensure your allies instantly push B right after the barriers to make the most of this Recon arrow.
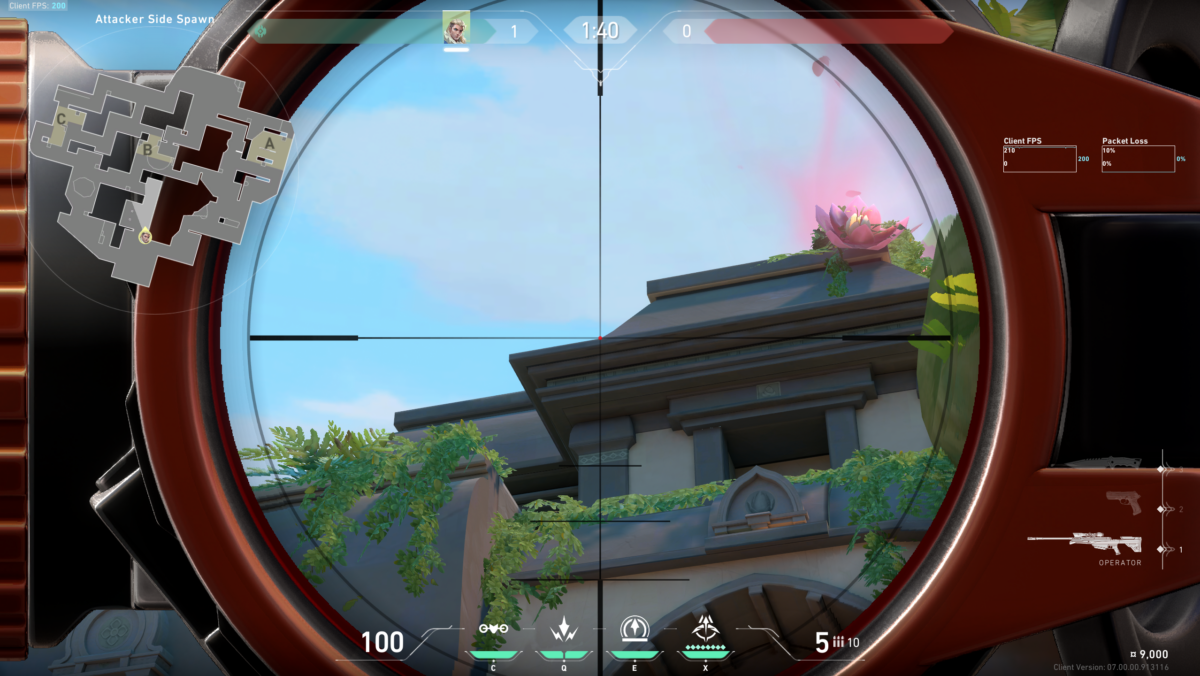
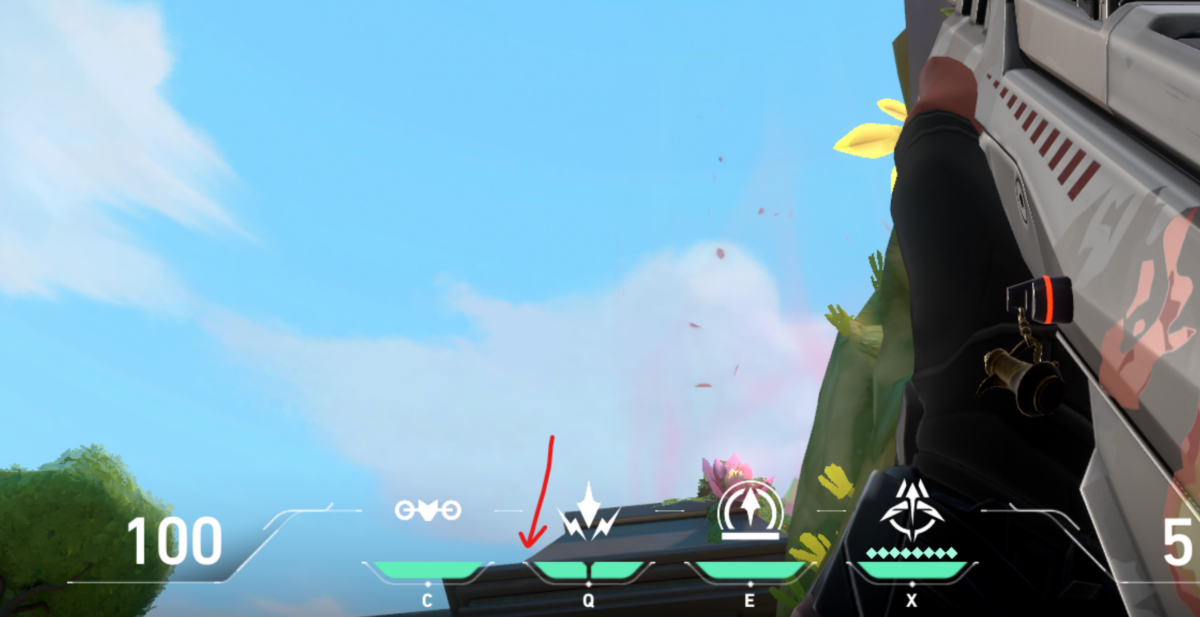
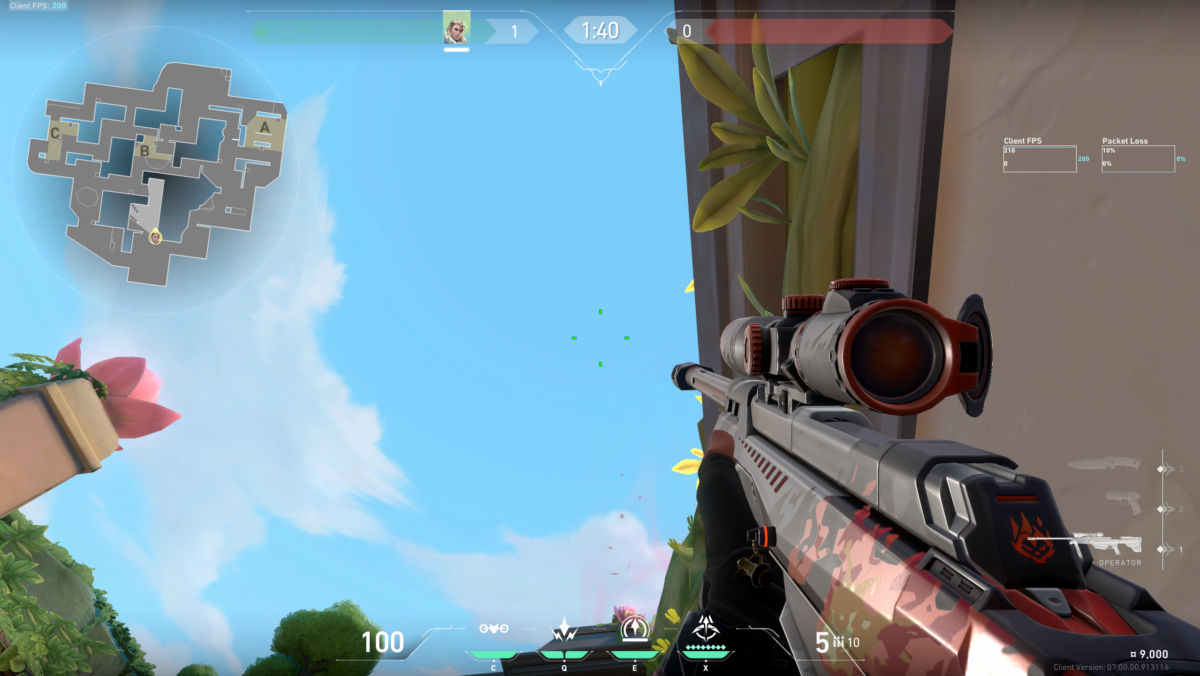


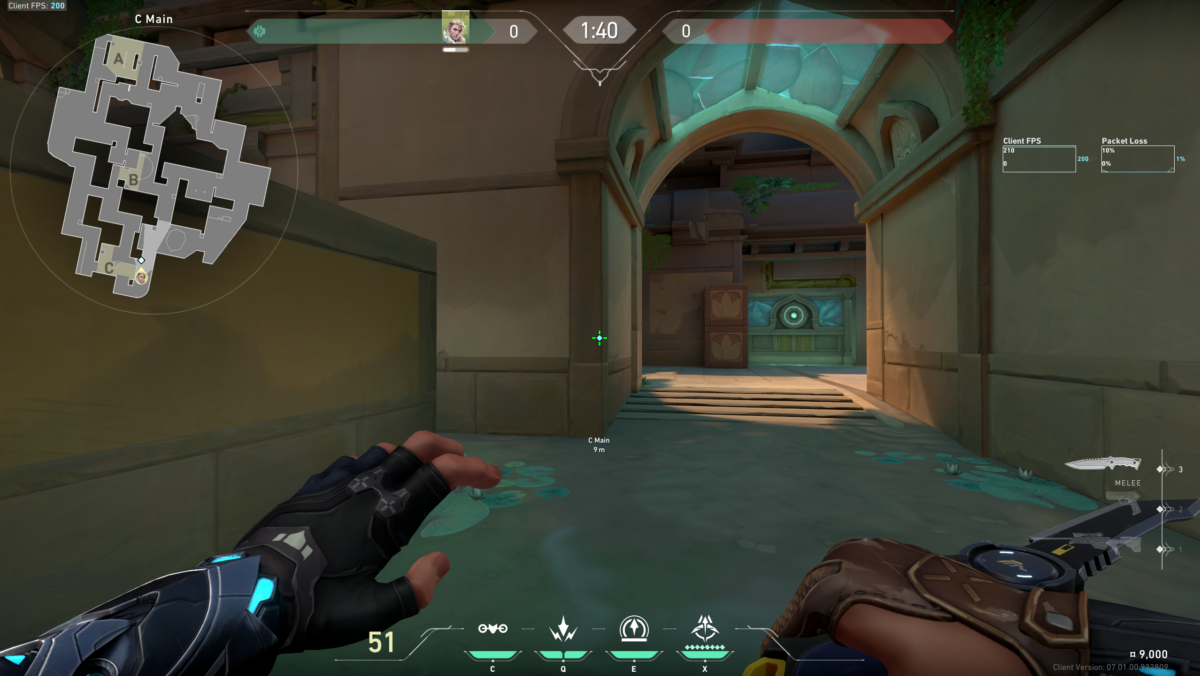
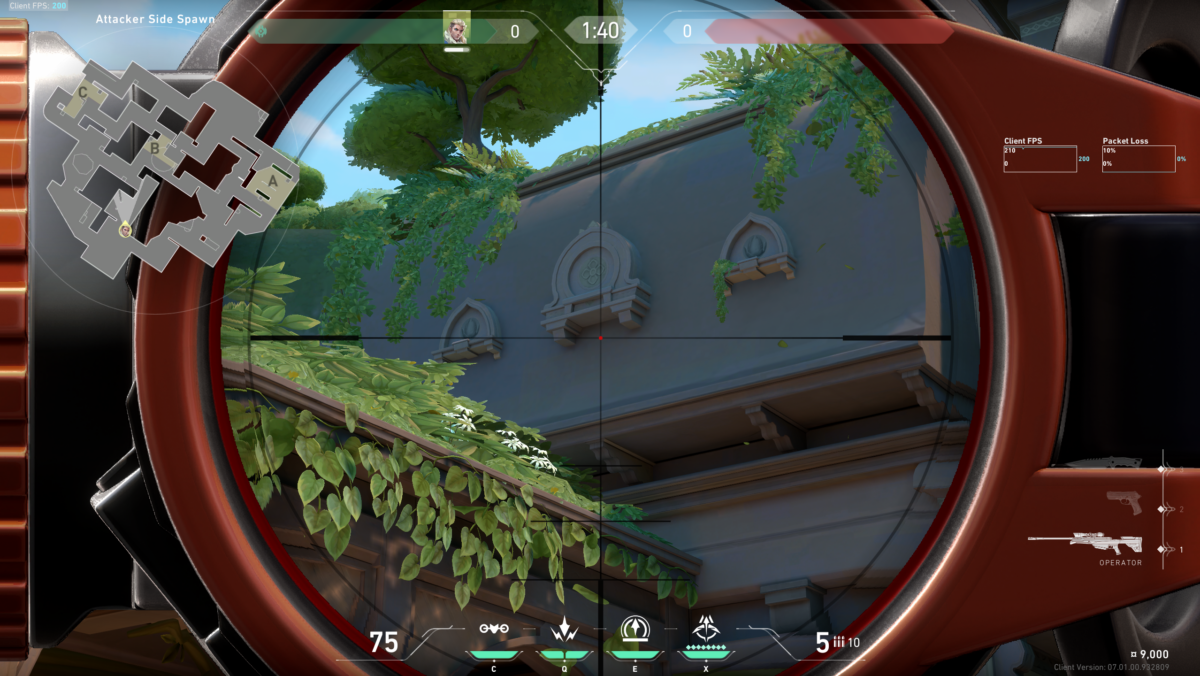
Attack: C Site fast Recon Arrow
This fast arrow is exactly what you need for those aggressive C pushes. It will scope out the C site and reveal all the common angles. Use this arrow immediately at the start of the round from the C lobby with your allies aggressively pushing into the site.

Defense: A Lobby Recon Arrow
This arrow will help against enemies aggressively pushing A. It can be fired from A site and aid your team in defending A lobby. The recon arrow will scope out enemies positioned at Rubble and can immediately alert you if attackers are rushing A, allowing you to call in a rotation. This recon can also get you some cheeky wall bangs and smoke kills.

Defense: B Lobby Recon Arrow
You are better suited to play A or C as a Sova player. If you’re playing C and need to support B, you can use this Recon arrow lineup to reveal B lobby from C. At the start of the round, from the C entrance, you can use this simple lineup to reveal enemies pushing B. It travels over the map’s geometry and lands high up on a root, making it hard to destroy.


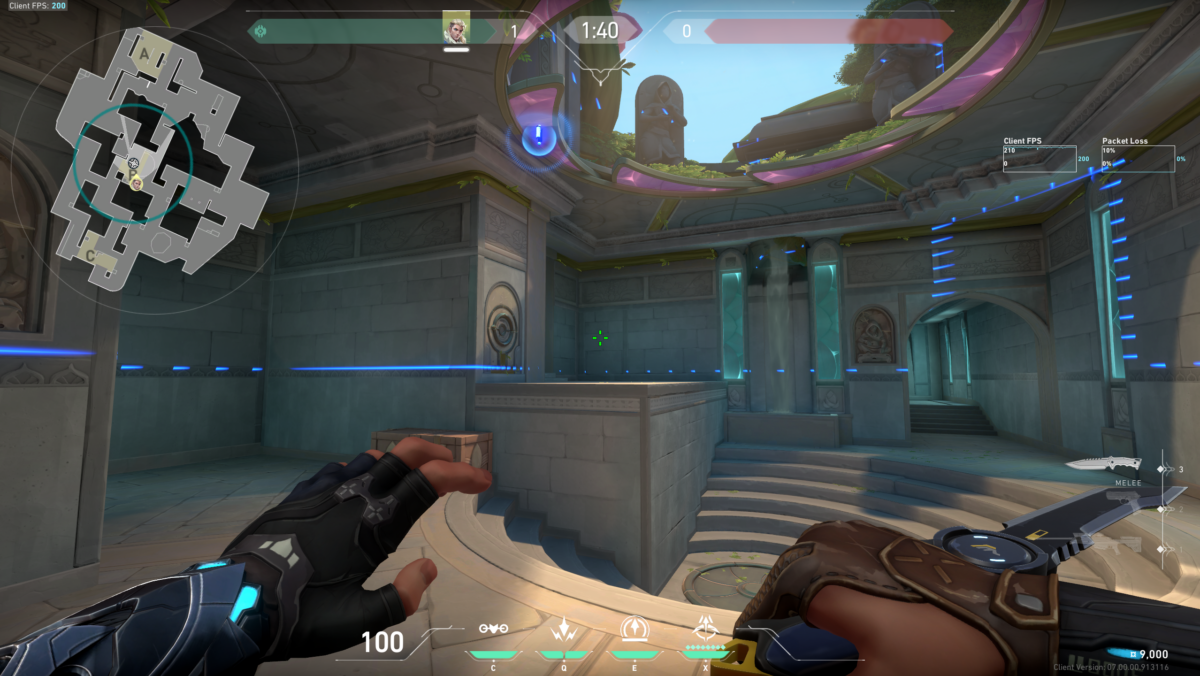
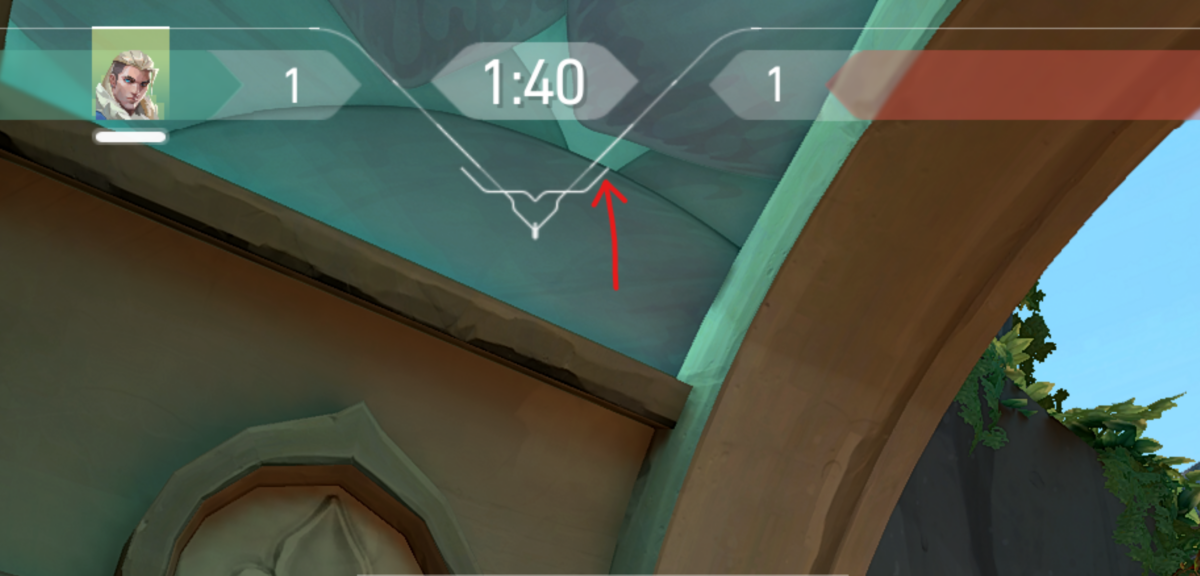
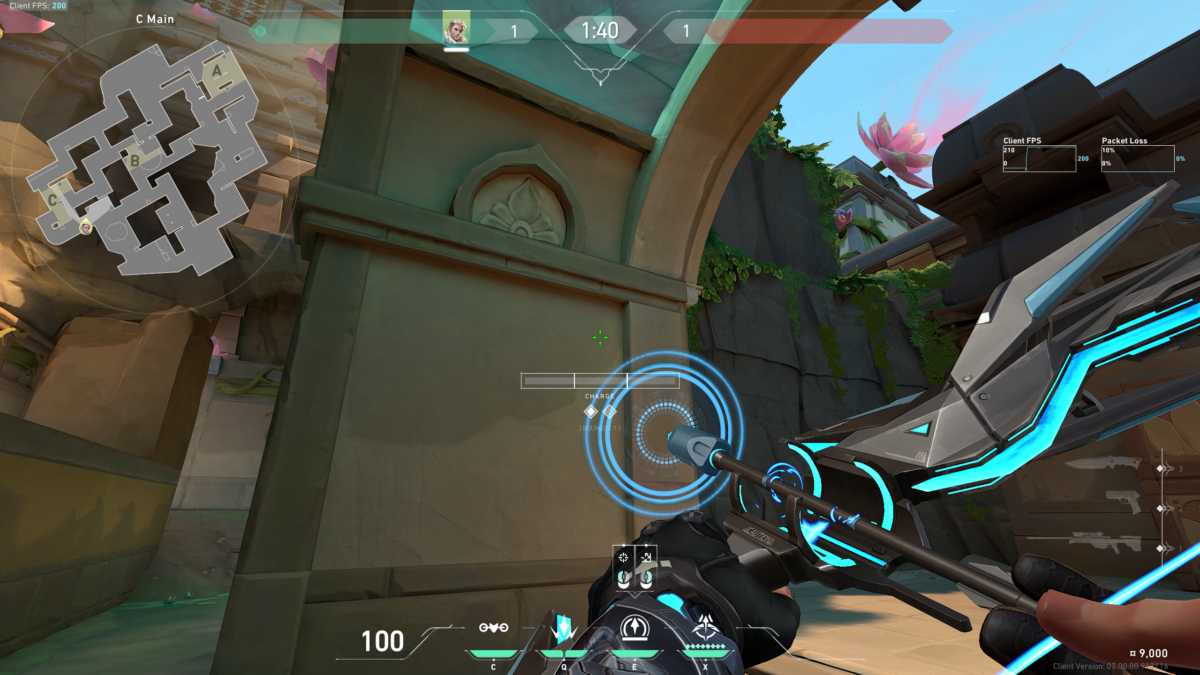
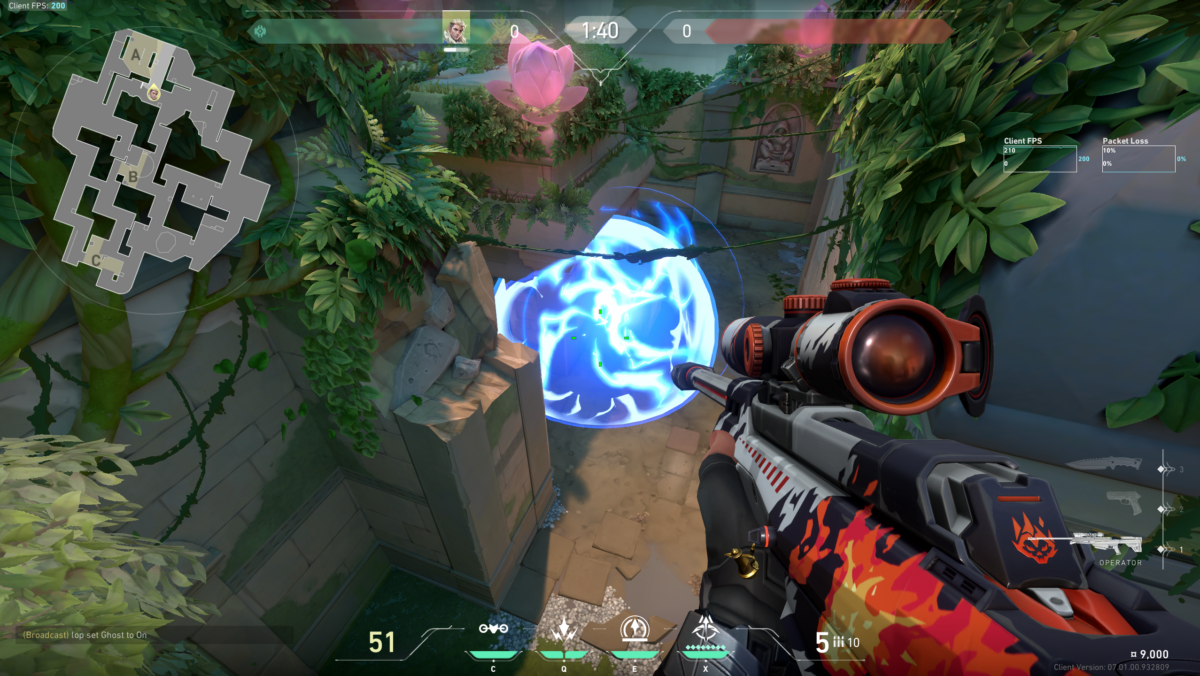
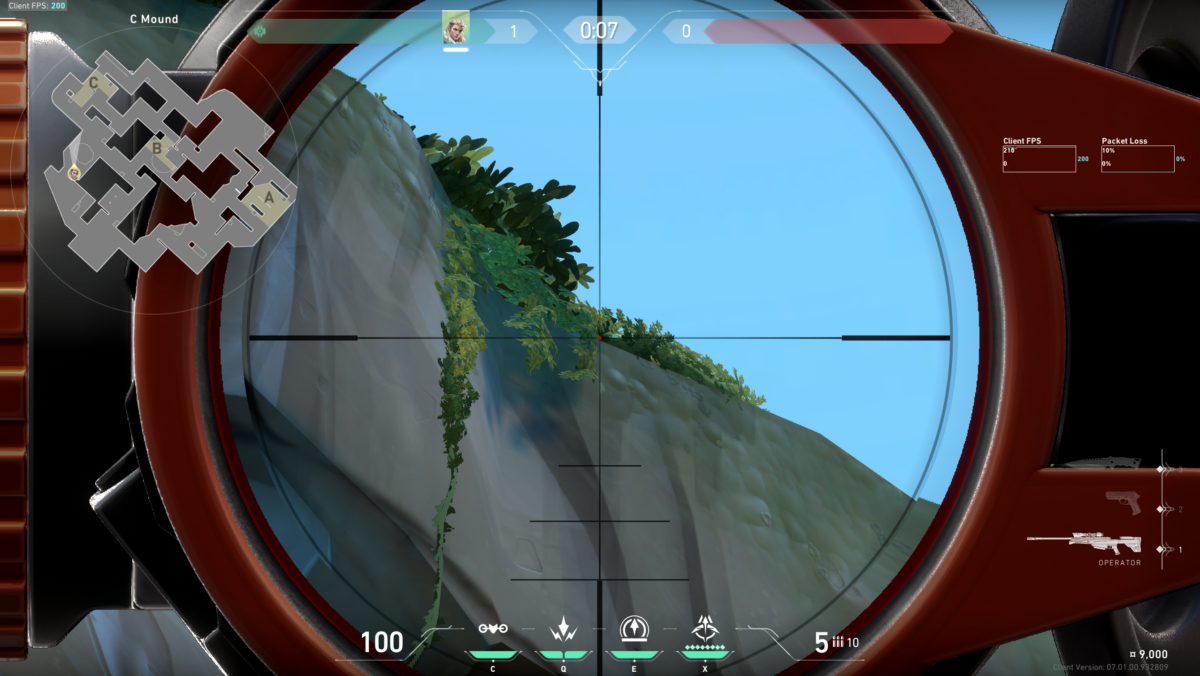
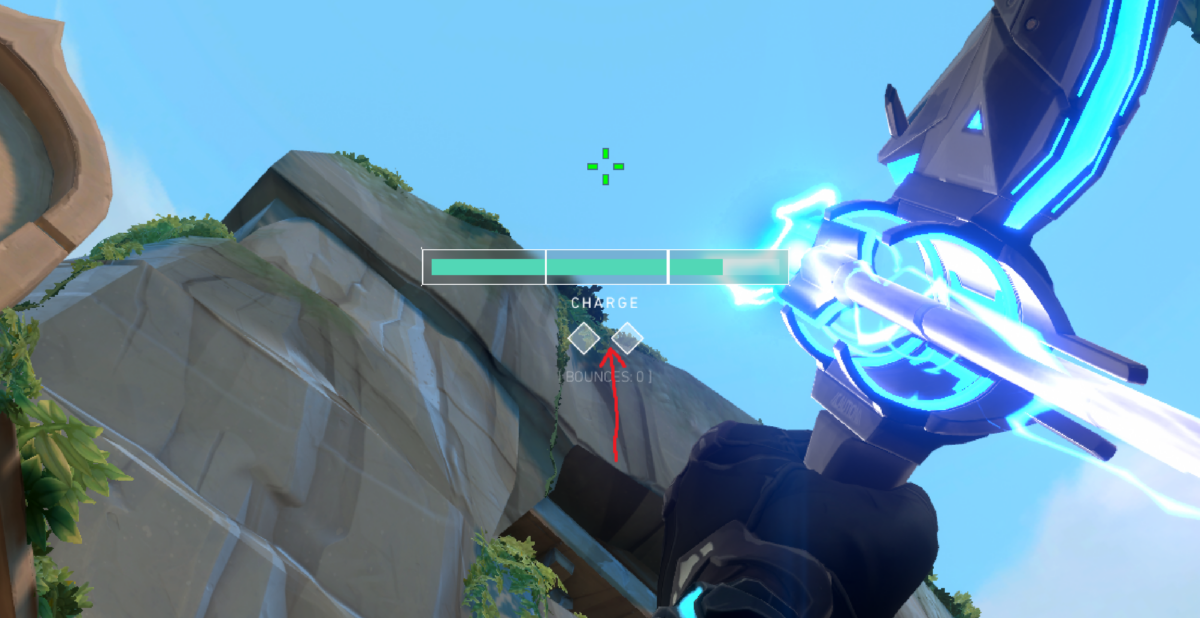
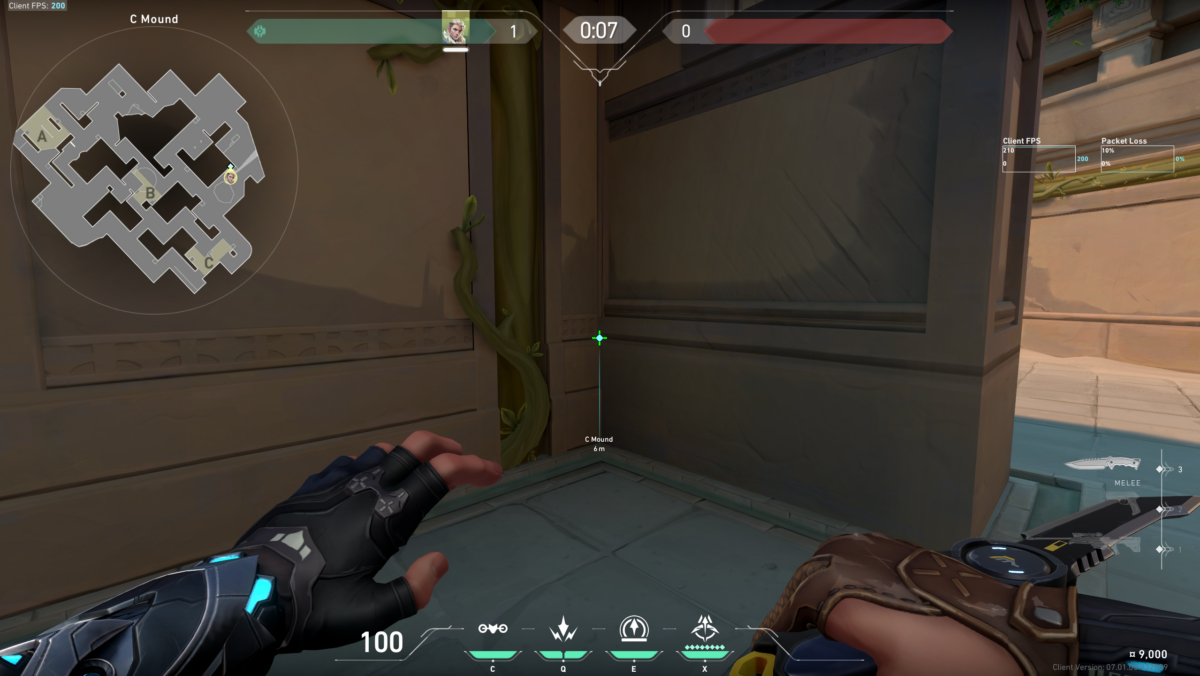
Defense: C Lobby God Recon Arrow
Typically in Lotus, a popular attacker strategy is rushing C. You might also have an ally Jett or Reyna taking an aggressive peek from C. You can instantly scout out the C lobby with this recon after the spawn barrier drops. This arrow bounces off the arch, lands on the roof above, and reveals all of the C lobby.

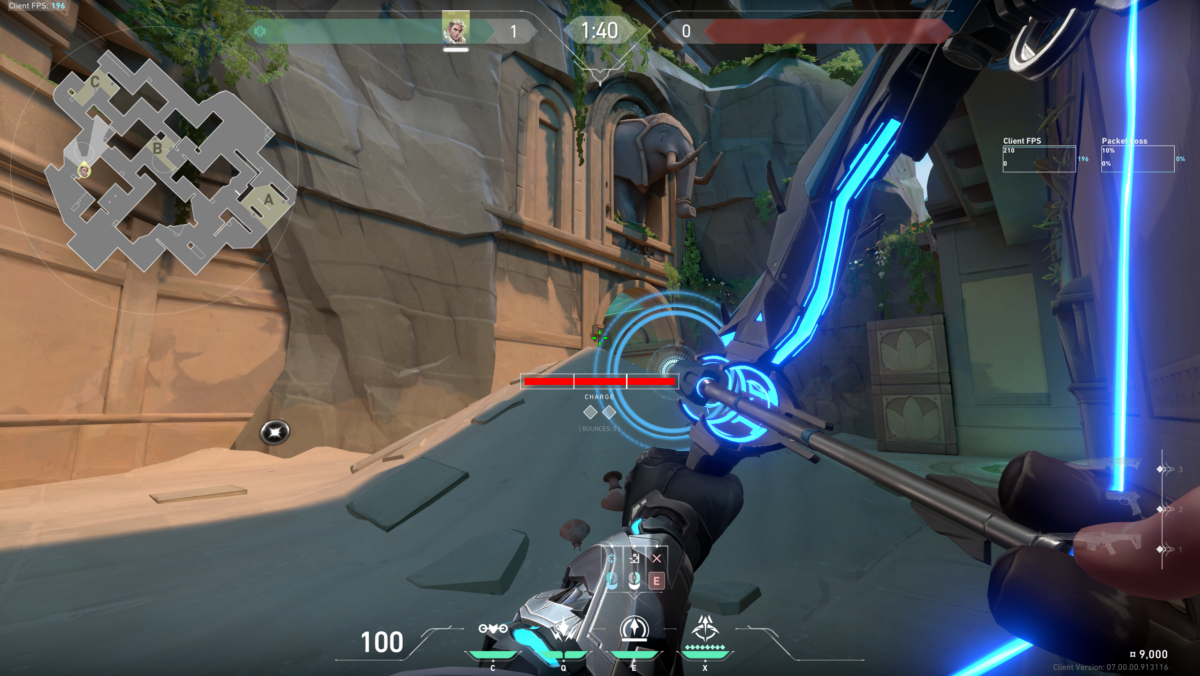
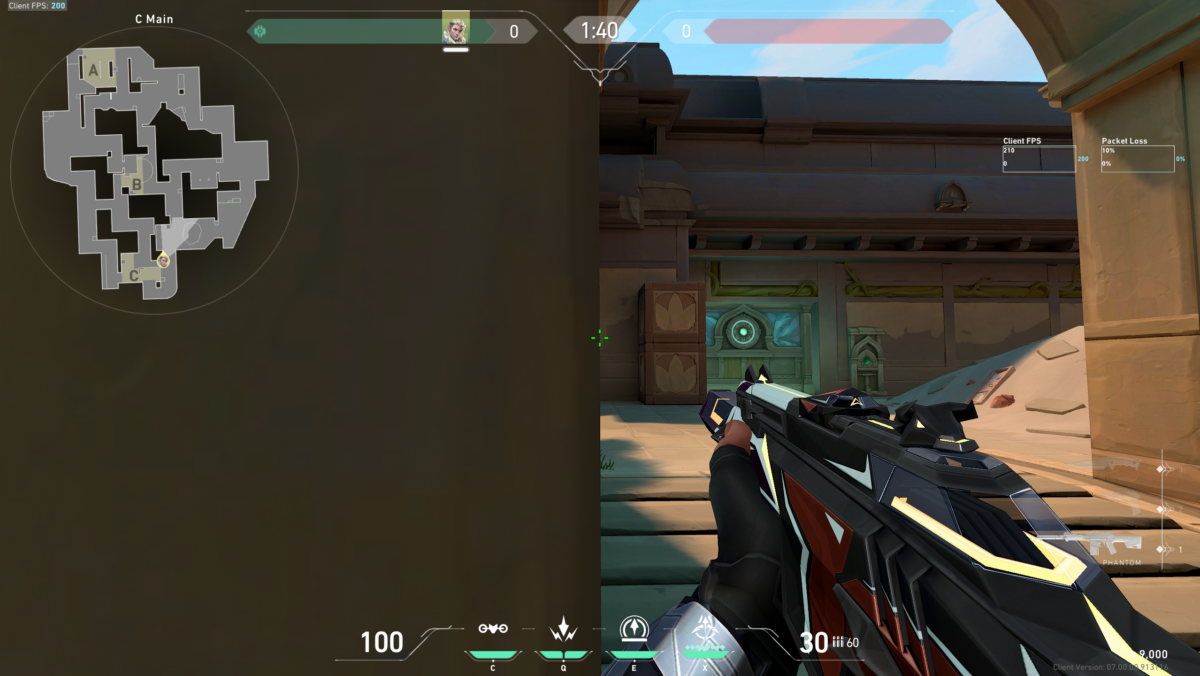
Split Shock Dart Lineups
So let’s start with what you’ve been eagerly waiting for the post-plant double shock darts. These big-brain lineups will be your go-to for clutching those intense rounds and getting some epic clips as well.
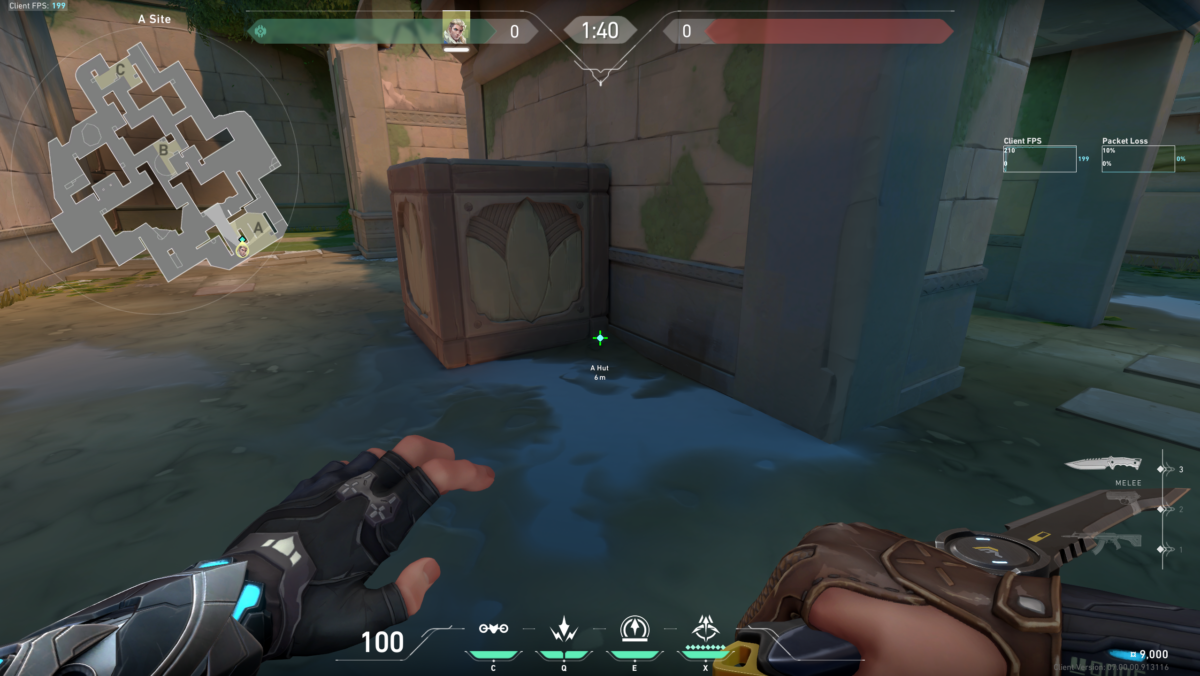
Attack: A Default double-shock dart
This double shock dart lineup can be handy when the spike is planted in A default. After planting, head back to the rubble to use this lineup. Be careful of enemy pushes.

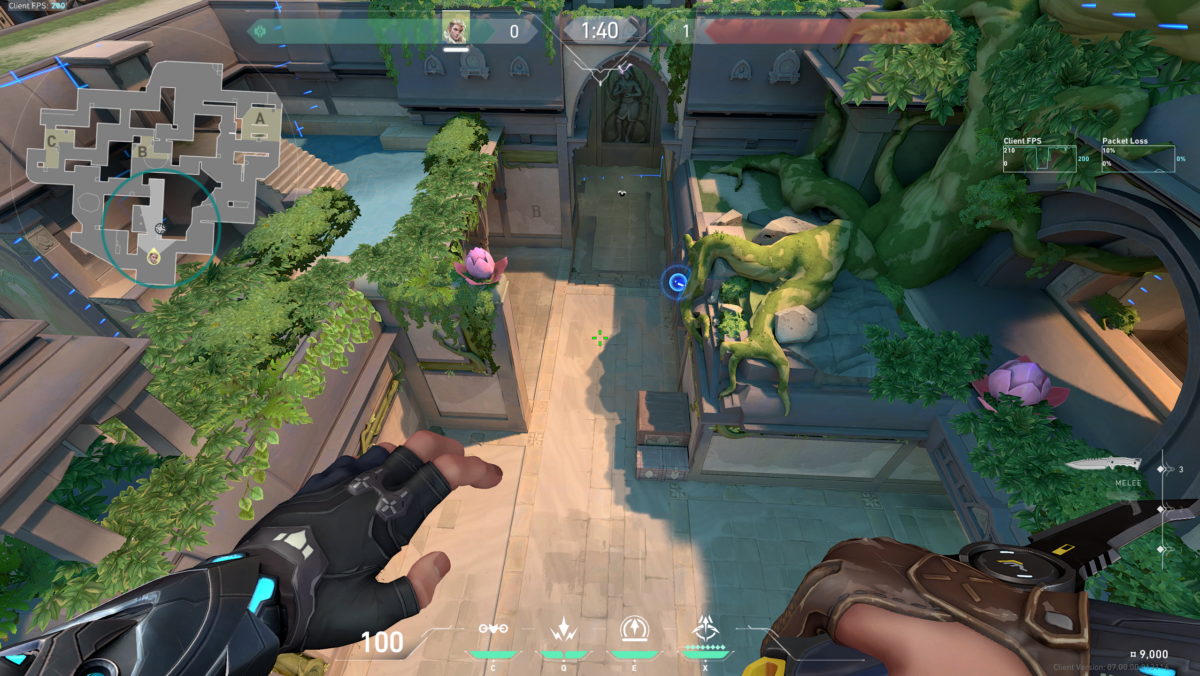
Attack: B Default post plant double Shock Dart
After planting in B default, head straight back out to the B lobby for this double shock dart lineup. This will take you quite far from the spike, so you can use this if there isn’t much time left on the spike or if you have your ult ready. Also, keep an eye out for enemies pushing out of A or C.
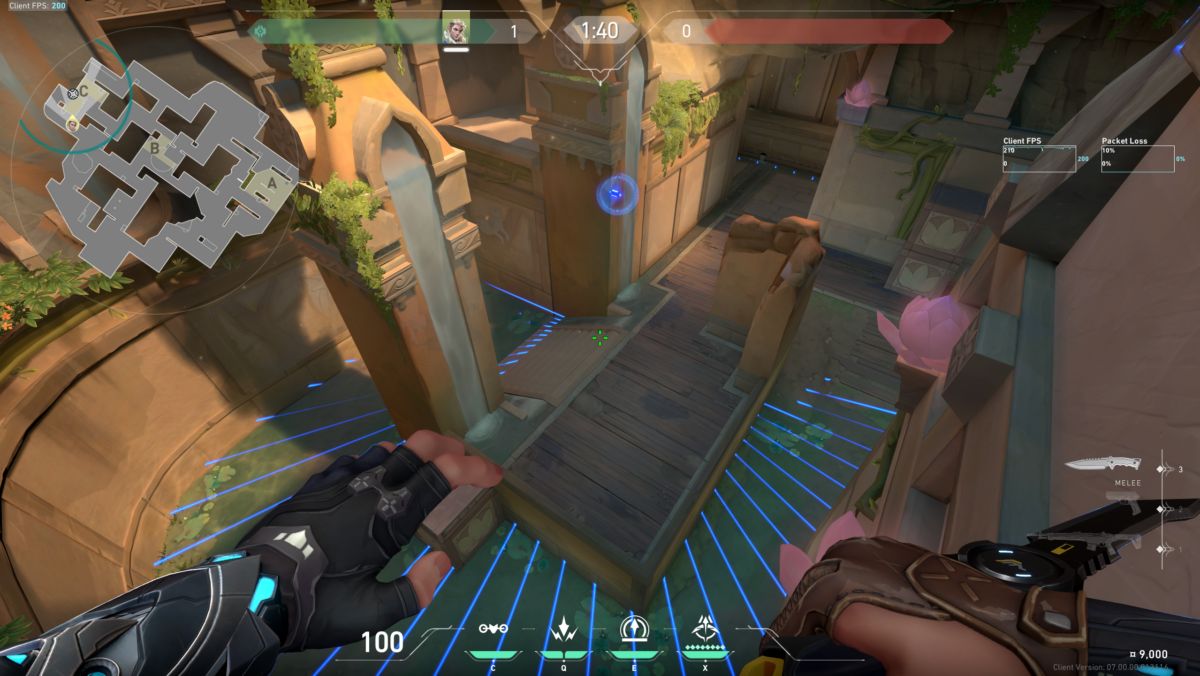
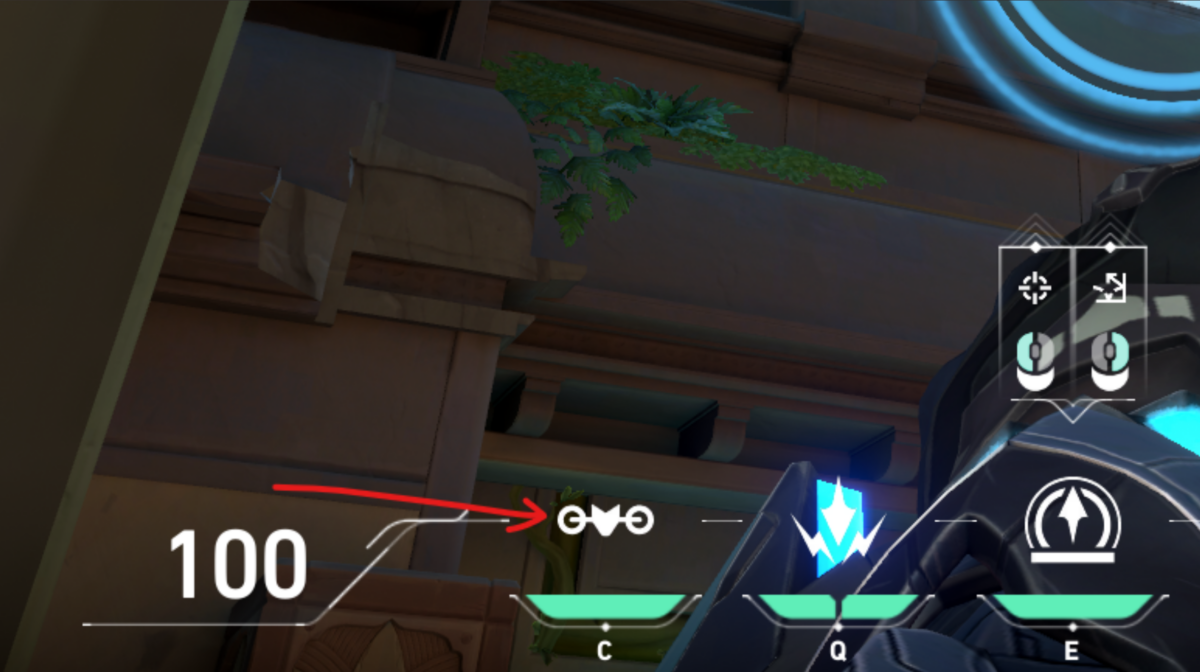
Attack: C Default post-plant Shock Dart
This shock dart lineup can be used from the C lobby after planting in C default. This is a bit tricky as it employs two starting positions for each shock dart with a 4-second delay in between shots for them to land simultaneously.

So now that you’re equipped with all the knowledge regarding Sova’s lineups for Lotus, try them out and practice them in Custom matches before heading out into a competitive match.
Read More: Best Cypher Setups for Every VALORANT Map (Defense and Attack)